Grow Your Own Garlic: Planting & Harvesting Tips
It was recently pointed out to me - someone was in shock - that growing garlic has the same gestation period as growing a human…which is true! 9 - 10 months from September/October to June/July. Funnily enough, I was actually growing both garlic and a child during those exact months this past year….a crazy comparison when harvesting your delicate little bulbs and looking at a newborn fresh home from the hospital. Talk about putting things into perspective how long garlic takes it’s sweet time to mature. Good grief.
As with any planting, the season and the year’s weather will have a vast difference on the outcome of your crop. Mine was a little puny this year and there are things that I will definitely change as we head into planing our crop for next summer - all which I will share along with some best practices to get you started.
But is it worth the long growing period? Absolutely! Not only will your garlic harvest last you a long time if stored correctly, there’s nothing more delicious than hot and spicy homegrown garlic…especially when you start experimenting with different varietals.
Who’s ready to keep the vampires away!?
AUTUMN PLANTING SEASON
(SEPTEMBER - OCTOBER DEPENDING ON YOUR ZONE)
-GROW IT-
Exposure: Full sun // Zone: All zones.
Planting Guide: Zones 0-3: Plant early to late September. Zones 3-5: Plant late September to early October. Zones 5-9: Plant in mid to late October.
Hardneck Vs. Softneck: These two main groups of garlic will help you pinpoint where to start growing based on your location and your desires. Here’s a basic run down.
Hardneck - hearty for growing in colder climates and winters (although I’ve had success growing these in the hot dry zone 9). Clove formation is in a single uniform row making them easy to peel. Some say these are more delicious, plus they have the bonus of growing scapes which are a delicacy in themselves.
Softneck - best suited for more mild climates as they will not fair well in harsh winters. Clove formation varies and the cluster includes cloves of varying size - bonus they store much longer and this is the type you need to grow if you want to braid your garlic come harvest. Sadly no scapes will pop up for an early summer treat.
Plan Ahead/Getting Your Cloves: Purchase/Pre-order cloves mid summer as most seed providers sell out well before autumn planting season! A few favorite places to purchase heirloom bulbs are Baker Creek Seeds, Seed Savers Exchange & Burpee. You can also look into specialty farms online that ship for particular varieties, I’m intrigued by Filaree Garlic Farm (Washington) and Mad River Garlic Growers (Ohio) for some new varietals to try this fall.
Don’t want to go the heirloom route on your first trial? Totally fine. Skip the grocery store and head to the farmers market for organic bulbs mid to late summer, these will work just as well and you’ll know they’re free from any pesticides unlike some of the store-bought bulbs (which are also known to under produce for whatever processing reasons). Farmers Market bulbs will be a little more cost friendly and you can plant a smaller crop without committing to the typical 1/2 pound orders online - have a talk with your local venders about the flavor profiles (or take some home for cooking first) to see what sounds best for you!
-PLANT IT-
Getting Started: Garlic is a heavy feeder, so be prepared to plant in rich soil that needs supplementation/fertilization a few times during it’s growing cycle. This means a layer of rich compost on top plus a sprinkling of slow-release fertilizer during winter & spring.
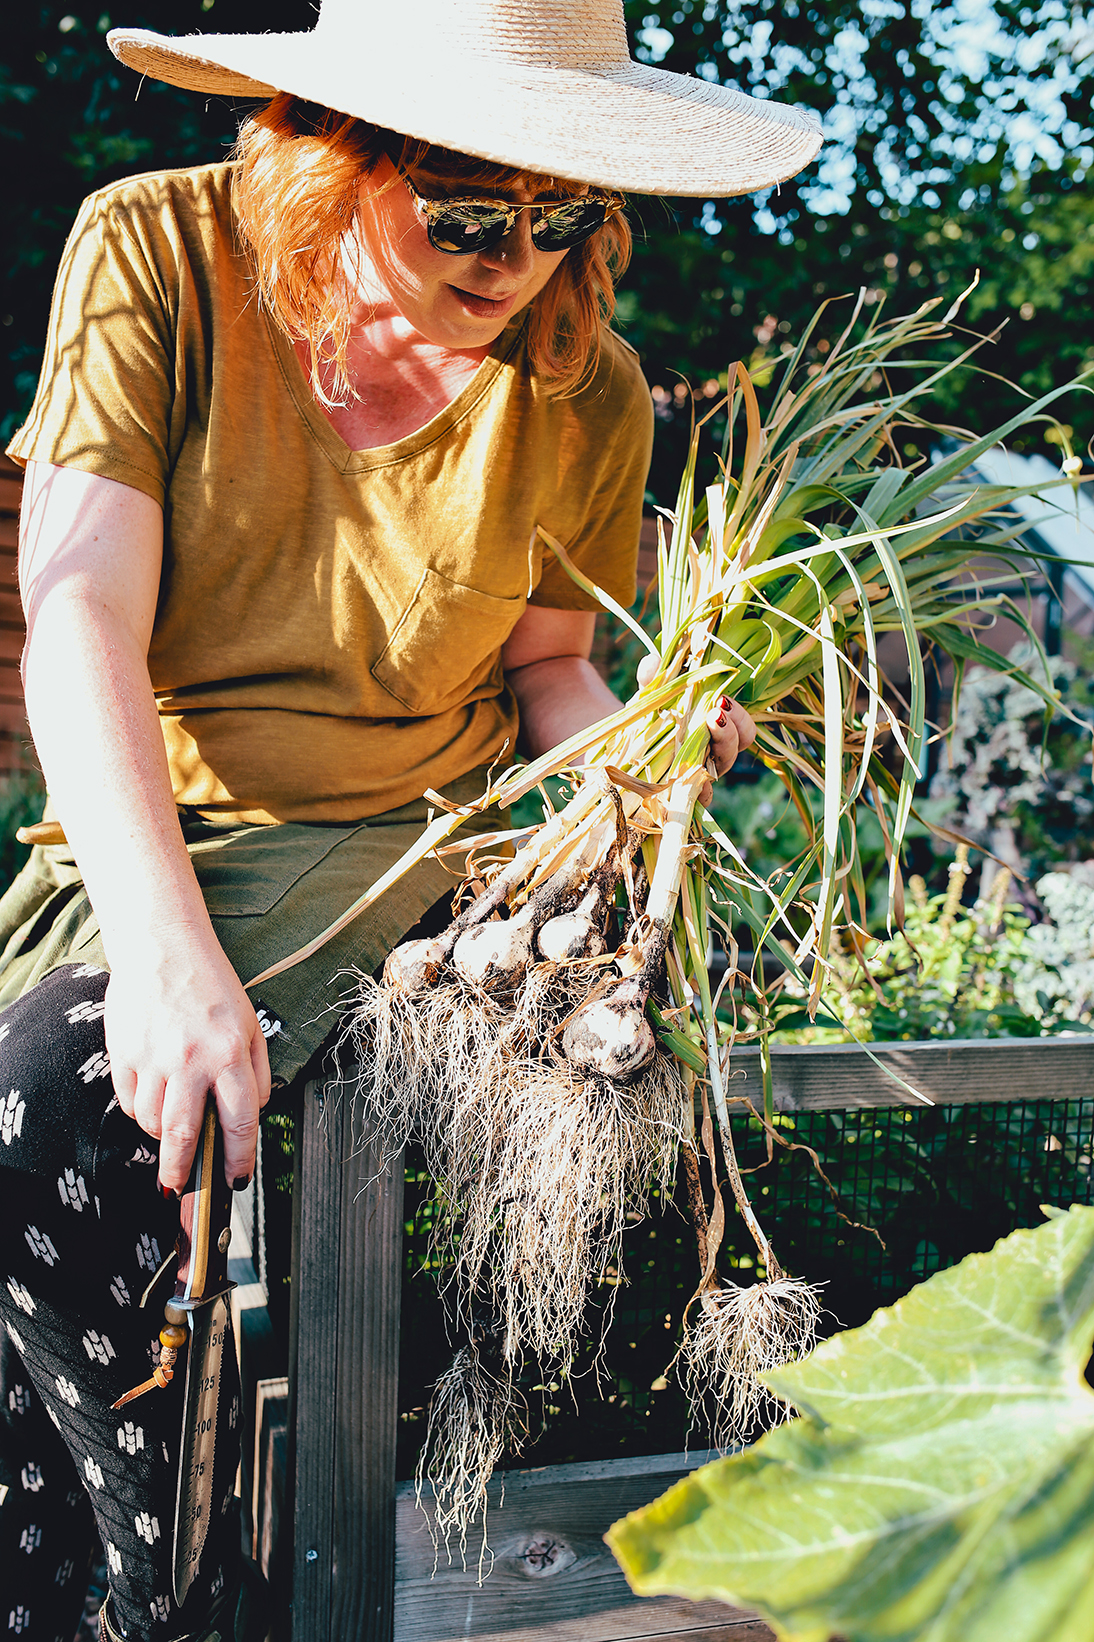
Remove cloves from bulb, leaving the paper skin on each individual clove. Plant 2-3 inches deep and 6 inches apart. I love using a hori hori japanese garden tool for this task (perfect for planting AND harvesting). This past year I designated an entire 3x6 bed for growing garlic…I’m not doing that again this year. I actually think that planting them around the garden in different areas (that won’t be disturbed) might be a better use of space for me in the long run, especially with the growing season being nearly a full year. I didn’t necessarily like loosing an entire bed this go - but your plot might allow for such luxuries! I also think I will take advantage of some empty wine barrels this year, garlic would grow wonderfully in containers - as long as you are keeping up on nurturing the soil!
Water-wise, these bulbs love a deep soak. So give them a good water, but infrequently. We want to avoid rot so especially pull back if you have an overly wet winter. A good rule of thumb is…well your thumb..or index finger rather. Poke down a few inches into the soil to your knuckle and if it’s dry…it’s time to water!
MID- LATE SUMMER HARVEST
(LATE JUNE - EARLY AUGUST DEPENDING ON YOUR ZONE)
PRE-HARVEST:
Tender green garlic is a reason you’ll want to plant extra cloves…and you can squeeze these into any part of your garden or herb bed since they won’t be growing to full size. Plant and tend to per usual as listed above and harvest in the spring - both the soft bulb and shoots are edible!
In the months, even weeks leading up to your harvest you might see scapes sprouting depending on the type of garlic you’ve planted. These are delicious and a delicacy that you can find only at a few farmers markets. Once they sprout and start to curve (you’ll know it when you see it) well before it’s blossom starts to open, cut and use as you would fresh garlic or scallions. By removing this shoot you are focusing energy back into the bulb to further mature. A win, win if you ask me…and you’ll know what I mean once you sauté some up for the first time.
GO TIME:
Everyone has a different opinion on when the correct time to harvest garlic falls. And rightfully so, because if you pull too early you’ll have underdeveloped bulbs (but tasty green garlic) and if you pull too late they might be dry or worse rotten…no pressure, right? I think a good rule of thumb is to wait until your garlic tops are 1/2 to 3/4 straw-like and brown. Once these tops are about half brown, hold off on further watering - which will make the cleaning and drying process a lot smoother. When you’re ready to pull, use a hori-hori or similar stake like garden tool to work your bulb out of the ground. It’ll need some assistance a few inches beneath soil line and you definitely don’t want to yank by the tops, because they are important to keep in tact during the drying process.
DRY IT:
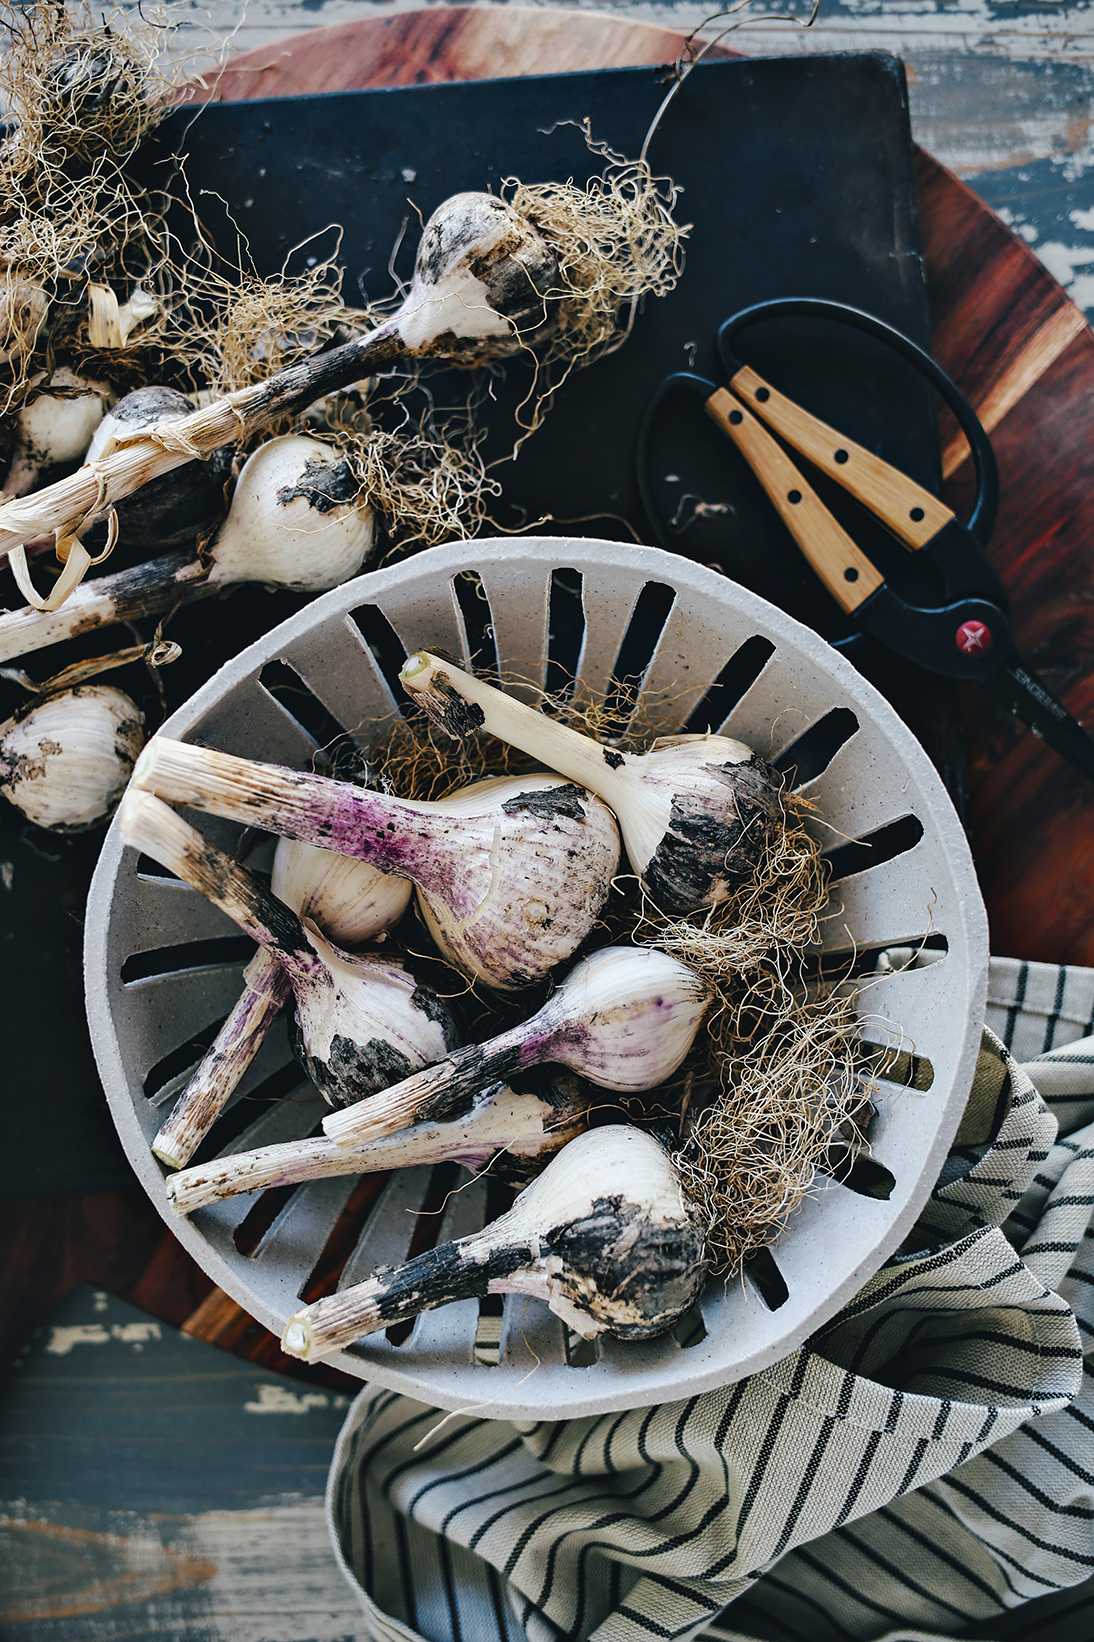
Once you’ve unearthed your bulbed beauties, it’s time to dry them…for 2 to 3 weeks! Simply brush off any dirt with your gloves or a brush and lay on a wire rack, or hang from a hook, leaving all tops attached to the bulb. These will continue to send nutrients into your bulb during the drying process. Some people love to dry indoors in a cool dark place. Others like to leave outside in the shade and let nature do the work. Either way, avoid direct sun and any dampness. As they dry you can continue to clean off any dirt by hand, but no need to wash anything off or remove any skins.
If you want to try your hand at fancy braiding, you’ll need to grow a softneck variety and do it immediately after they are pulled from the ground. You’ll need those green stalks to be flexible enough to handle. This season I didn’t grow any soft neck, which is one of the many changes I’ll make to this autumns planting. One note for you to prep if braiding is a goal: you’d need 20+ bulbs for a decent looking piece.
STORE IT: Once your bulbs have dried, simply cut the tops off leaving 2-3 inch necks and trim any dried roots. Store in a cool dark place and check back on them if not using immediately, as they like to sprout if left for too long in the wrong conditions.
COMPANION PLANTING & OTHER GARDEN USES
You might have caught me talking about this on instagram stories earlier this summer (a quick tutorial is still saved in my Garden Tips Highlights if you’d like to view) garlic has beneficial uses in the garden too! Companion planting is the practice of growing different plants in close proximity to enrich each other and fend off pests. This summer I’m testing out a planting of garlic boarders around my tomato plants to fend off spider mites and other pests….who apparently hate the smell of garlic. So far, so good! But the real test will be the hot hot head of late summer, fingers crossed they help extend my plant life this year.
If you’d like to learn more about companion planting this book is an excellent resource and interesting read.
Garlic spray is another amazing use in the garden - by applying directly onto leaves (in the early morning or late afternoon when temps and sun cool) it can stop certain insect pests (even rabbits) from chomping your leaves. There are a ton of homemade recipes online you can search around for, this would be a perfect use for any oddling bulbs you harvest or any that might have sprouted in storage. No need to waste when you can put those not so desirable (yet incredibly potent) bulbs to work!
So there you have it…an all things garlic guide to get you ready for this fall’s planting! Any other tips you want to share!? Or is there a specific heirloom bulb your garden can’t live without?! Tell me all these things in the comments below.
Happy gardening my friends!


